
Not everyone realizes there’s an easy way to use lookup with Scan to Spreadsheet. Using the Lookup function will create a new spreadsheet that imports the data from an already existing spreadsheet. So, we’re sharing that information right here!
Set-up Lookup with Scan to Spreadsheet
- You need a completed spreadsheet with barcode scanning information (the first column must have the information returned when the barcode is scanned). The rest of the columns (2 through 5) can contain any other information such as description, location, etc.
- Export the file to a CSV file (a file that can be used with Scan to Spreadsheet).
- Now, you’ll need to get the file onto your phone. The easiest way to do this is to email the file as an attachment to yourself.
- Open your file on your phone. Select the share button.

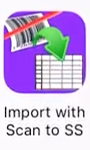
- Then select Import with Scan to Spreadsheet.
- Select the hamburger menu, then validation button (check mark)
- On the Validate screen, select “Import”.
FYI: We’ve tested up to 30,000 rows of data on import. It works, but it might take a little time depending on the amount of data.
However: The lookup function works quickly no matter the number of rows.
Use Lookup with Scan to Spreadsheet
You have a few options to choose from at this point. You can “Lookup”, “Error if found in list” or “Error when not in list”
Using Lookup will create a new spreadsheet that imports the data from the lookup spreadsheet when the item is scanned.
- Select Look up on Scan
- Select the back arrow
- Select the play button to start a new spreadsheet
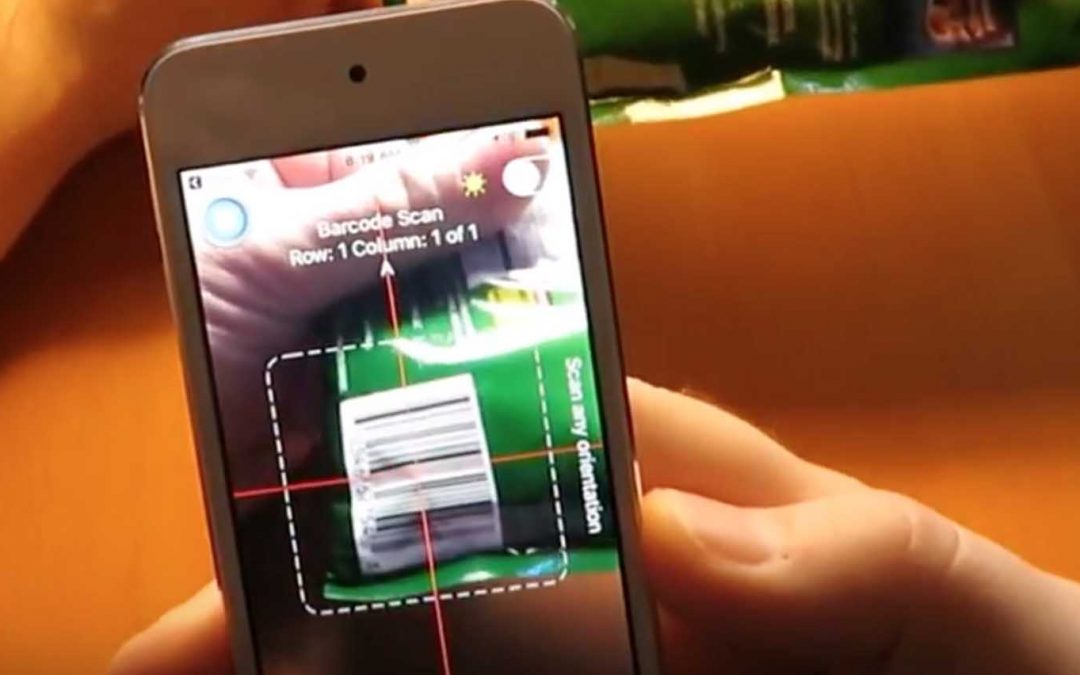
- Select barcode to open camera for scanning
- Scan item
And there you have it. A way to create a lookup! Have any questions? Please let us know.
You can find Scan to Spreadsheet for iPhone and Android.
Recent Comments